The success of any business depends on its ability to keep pace with the ever-evolving technology and effective decision-making.
Customer Relationship Management (CRM) software is one such technology that is revolutionizing the industry’s decision-making. It provides businesses with the tools and capabilities to automate, optimize, and gain insights from their customer data.
Considering the positives, it is safe to say that CRM software development is one of the essential investments a business can make.
In this post, we will explore how CRM software can be used to maximize industry success. We’ll look at how CRM software can increase customer satisfaction, streamline processes and drive sales.
Cutting-edge CRM solutions to improve your bottom line
-
Streamlining Business Processes
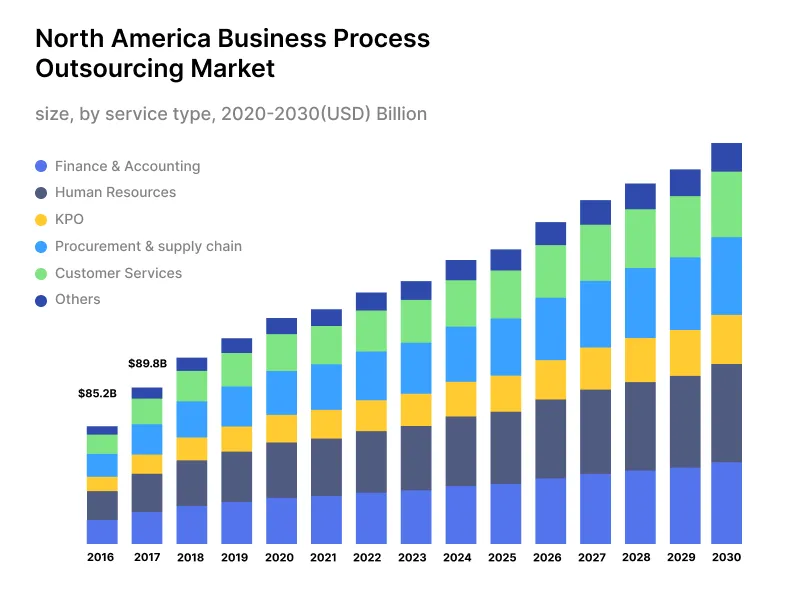
According to Grand View Research, the global CRM market size was valued at USD 58.82 billion in 2022 and is predicted to grow at a CAGR of 13.9% from 2023 to 2030.
The above graph clearly depicts the sudden rise in the global CRM market and its future potential. Customer Relationship Management software can streamline various business processes by providing a centralized platform for managing customer interactions and data.
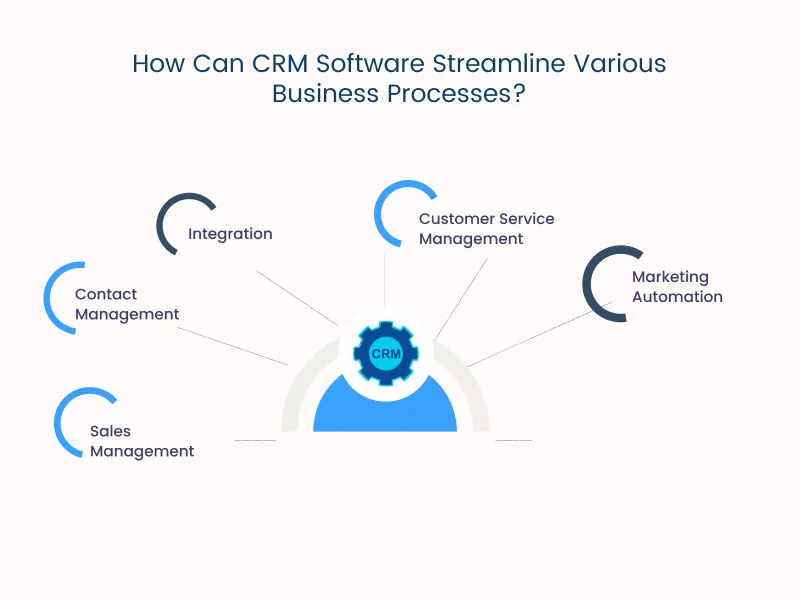
How Can CRM Software Streamline Various Business Processes?
By integrating all customer-related activities, CRM helps businesses to better understand their customers and improve their relationships.
Here are some of the ways CRM software can streamline various business processes:
-
Contact Management
CRM software can store and organize customer contact information, including customer demographics, contact history, and communication preferences.
It allows businesses to easily access and manage customer data, and to segment customers based on different criteria.
-
Sales Management
CRM can automate sales processes such as lead tracking, opportunity management, and forecasting. Businesses can utilize sales pipeline software to track leads through the sales process, identifying which leads are most likely to convert. This enables them to focus their sales efforts on these high-potential leads.
Opportunity management allows businesses to track the progress of sales opportunities, and forecasting helps to predict future sales.
-
Marketing Automation
CRM software can automate marketing processes such as email campaigns, lead nurturing, and social media management. It can help to improve marketing efficiency and effectiveness.
Businesses can free up staff time for more important tasks by automating repetitive tasks such as email campaigns.
-
Customer Service Management
CRM software can automate customer service processes such as ticketing, case management, and service level agreements. By automating customer service processes, businesses can improve customer satisfaction and retention. CRM facilitates real-time analytics and reporting to measure performance and make data-driven decisions for companies.
-
Integration
CRM software can integrate with other systems, such as accounting, marketing automation, and email marketing. By integrating with other systems, CRM software can streamline workflows and improve efficiency.
Cutting-edge CRM solutions to improve your bottom line
Processes That Can be Improved With CRM Software
CRM software can help streamline and improve processes related to customer engagement, providing an array of benefits. Some of the processes are:
-
Lead Management
CRM software can streamline the lead management process by automating the lead capture, qualification, and assignment process. It can help businesses quickly identify and prioritize the most promising leads, increasing the chances of conversion.
-
Sales Forecasting
CRM software can provide real-time sales performance, pipeline, and forecasting data. It helps businesses make more accurate predictions about future sales and adjust their strategies accordingly.
-
Marketing Campaign Management
CRM software can automate the creation, execution, and measurement of marketing campaigns. It helps businesses reach more customers, increase their ROI, and improve the effectiveness of their marketing efforts.
-
Customer Service
CRM facilitates the customer service process by providing a centralized platform for managing customer interactions, tracking customer support requests, and automating follow-up tasks. It improves customer satisfaction and retention.
-
Inventory Management
CRM software can streamline inventory management by providing real-time data on product availability, stock levels, and orders. It leads to reduced stockouts, improved inventory turnover, and increased revenue.
-
Order Management
CRM software automates the order processing, tracking, and fulfillment process. The technology helps businesses to reduce order processing time, increase accuracy, and improve customer satisfaction.
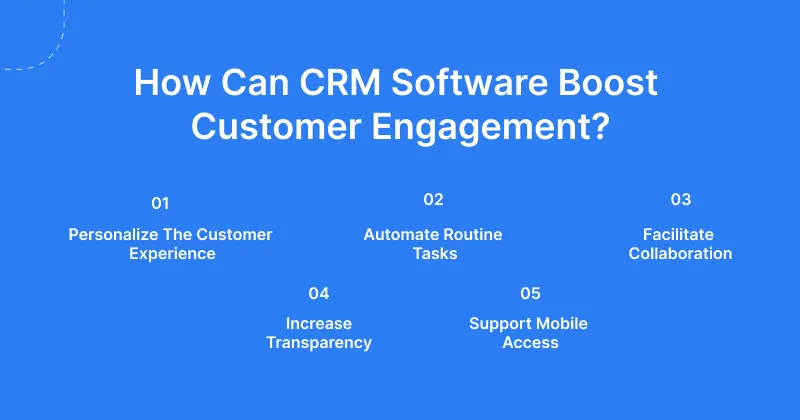
III. How Can CRM Software Boost Customer Engagement?
CRM software is a powerful tool for managing customer relationships and uncovering valuable customer insights.
Let’s look at how CRM software can help you build stronger customer relationships.
-
Personalize Customer Experience
Personalization is critical to a successful customer engagement strategy. With the right CRM software, you can provide customers with an experience tailored to their needs.
By leveraging customer data and preferences stored in the system, you can deliver highly personalized communications, campaigns, and services that make customers feel valued and important.
CRM software allows you to identify customer segments, track individual interactions, and tailor your messages to specific audiences.
-
Automate Routine Tasks
CRM software can automate tasks such as creating reports, tracking customer interactions, sending automated emails, or generating leads. Automation helps companies streamline their customer onboarding process and reduce human errors by ensuring that data is collected consistently.
Furthermore, automation can simplify billing processes and provide customers with more accurate invoices.
-
Facilitate Collaboration
CRM software facilitates collaboration among an organization’s customer service teams, sales teams, marketing teams, and other departments. By bringing everyone together on one platform, it’s easier to track progress and coordinate efforts.
CRM software also provides visibility into customer interactions across all departments, allowing everyone to work together as a unified team to provide the best experience possible.
-
Increase Transparency
Transparency is essential for successful customer relationships; CRM software can help achieve this. It ensures that customers always have access to up-to-date information to make informed decisions.
With CRM software, companies can be transparent in how they communicate with customers, provide detailed information about product features and pricing, and share valuable insights.
-
Support Mobile Access
By providing mobile access to the CRM system, businesses can stay connected with their customers. It means customers can access their accounts on their mobile devices, as well as access information about new products and services.
Additionally, employees can use CRM software to actively respond to customer inquiries. It ensures that their customers are happy and satisfied.
Mobile access also allows businesses to build a more personal relationship with their customers. They can send notifications and messages directly to customers’ mobile devices.
It enables them to engage more effectively with customers, providing them with timely updates and reminders.
-
Choosing the Right CRM Solution
The following sections can help you choose the right CRM software solution for your business. Let’s start by discussing the different types of CRM software you can choose from.
Reference Blog: How CRM Software Development Can Optimize Performance Of Your Business
Different Types of CRM Software
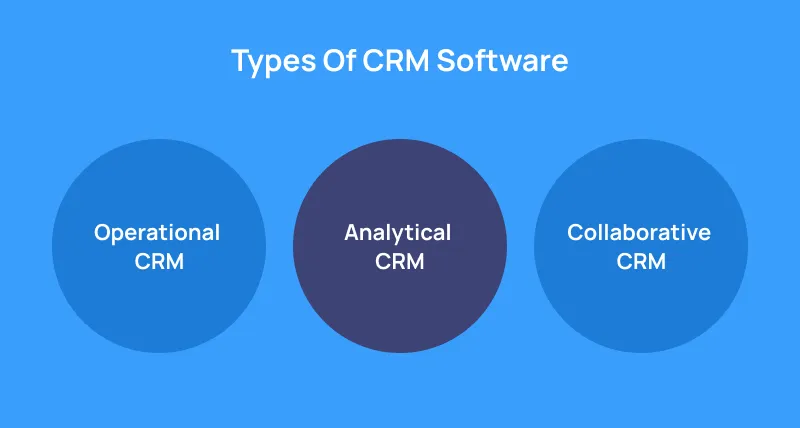
Depending on your business’s needs, the type of CRM software you choose may vary. Here are some of the most common types of CRM software:
-
Operational CRM
Operational CRM focuses on streamlining and automating business processes such as sales, customer service, and marketing. The main goal is to improve customer satisfaction by effectively managing customer interactions and data.
It allows businesses to automate and manage day-to-day operations such as account management, contact management, and lead generation.
The key benefits include the following:
- Provides a centralized view of customer information and enables data-driven decisions
- Improves the ability to forecast and plan for future sales
- Increases productivity by reducing repetitive tasks and improving team collaboration
- Enhances customer retention by providing an easy way to access customer information in one place
-
Analytical CRM
Analytical CRM is focused on providing businesses with data and analytics about their customers. The main goal is to help enterprises to make data-driven decisions. Also, to improve their performance by providing insights into customer behavior and purchasing patterns.
Analytical CRM software includes various tools, such as data mining, data warehousing, and business intelligence, to extract insights from customer data.
Cutting-edge CRM solutions to improve your bottom line
The key benefits include the following:
- Provides an in-depth customer data analysis to identify key trends, patterns, and areas for improvement
- Allows management to track and measure the performance of sales and customer service teams
- Provides a way to measure the ROI of sales and marketing campaigns
-
Collaborative CRM
Collaborative CRM is focused on facilitating collaboration and communication among team members. The goal is to help businesses improve their teamwork and productivity by providing a centralized platform for team members to share customer data and collaborate on customer interactions.
It includes various tools, such as team calendars, task management, and document sharing, to facilitate collaboration and communication among team members.
The key benefits include the following:
- Facilitates collaboration and communication among team members
- Helps businesses become more agile and responsive to their customers’ needs
- Increases the overall communication and coordination between different departments and employees
- Allow businesses to access customer insights to provide a personalized and tailored customer experience
- Improves teamwork and productivity by providing a centralized platform
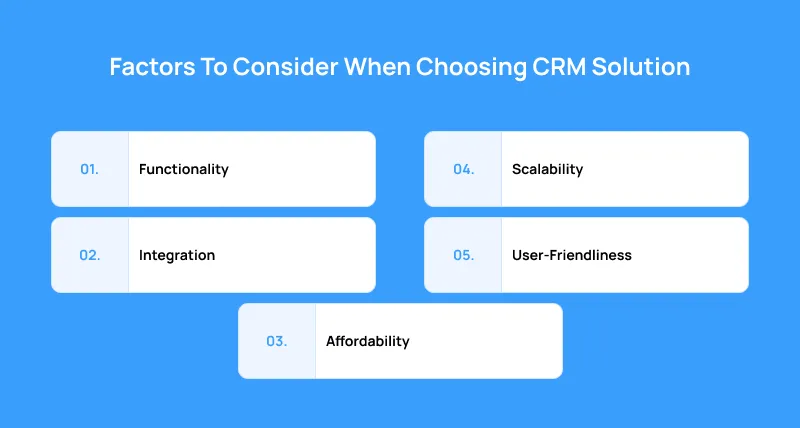
Factors To Consider When Choosing CRM Solution
When choosing a CRM solution, there are several factors to consider to ensure that the solution meets the specific needs of your business.
Some of the critical factors to consider include the following:
-
Functionality
When choosing a CRM solution for your business, its functionality is one of the most important factors.
You want a system that is powerful enough to meet your needs but also easy enough to use. The best CRM solutions provide robust features and capabilities, including contact management, automated workflows, task and project management, reporting and analytics, and more.
It’s essential to ensure that your chosen system is equipped with the features and tools necessary to help you get the work done.
-
Scalability
An ideal CRM should be able to scale with you as you add new users and customer data. It should be able to store and manage large amounts of customer data without slowing down the system.
Additionally, it should adjust to your growing business needs in terms of customer tracking, automated marketing campaigns, and customer relationship management.
Also, the system should be able to support multiple users and manage different roles and permissions.
Also Read: A Comprehensive Guide On SAAS Application Development Challenges & Solutions
-
Integration
Integrating a CRM with other software, such as accounting and customer support programs, allows you to streamline operations, improve customer experience, and automate tasks.
To get the most out of your CRM, make sure it integrates with the software you already have in place and easily add new apps and services in the future. Depending on the features you’re looking for, some CRMs offer a more comprehensive integration suite than others.
Look for features like direct integration with popular cloud applications, APIs for custom integrations, and tools that simplify data integration between different systems.
-
User-Friendliness
CRM software should be easy to navigate, understand and use for all your employees. A user-friendly CRM will make it easier for your team to access and manage customer data, find customer accounts, view insights, and more.
The user interface of the CRM should also be intuitive and easy to use. It should have clearly labeled sections and options, with simple dropdown menus and opportunities that are easy to find.
-
Affordability
Choosing the right CRM solution for your business doesn’t have to cost a fortune. When looking for custom CRM software development, it is vital to ensure that it meets your budget needs. Make sure to look at the total cost of ownership and compare it with other vendors.
Consider if the product has a one-time purchase fee or an ongoing subscription-based model. If you are on a budget, opt for a low-cost solution that still offers you the necessary features and capabilities.
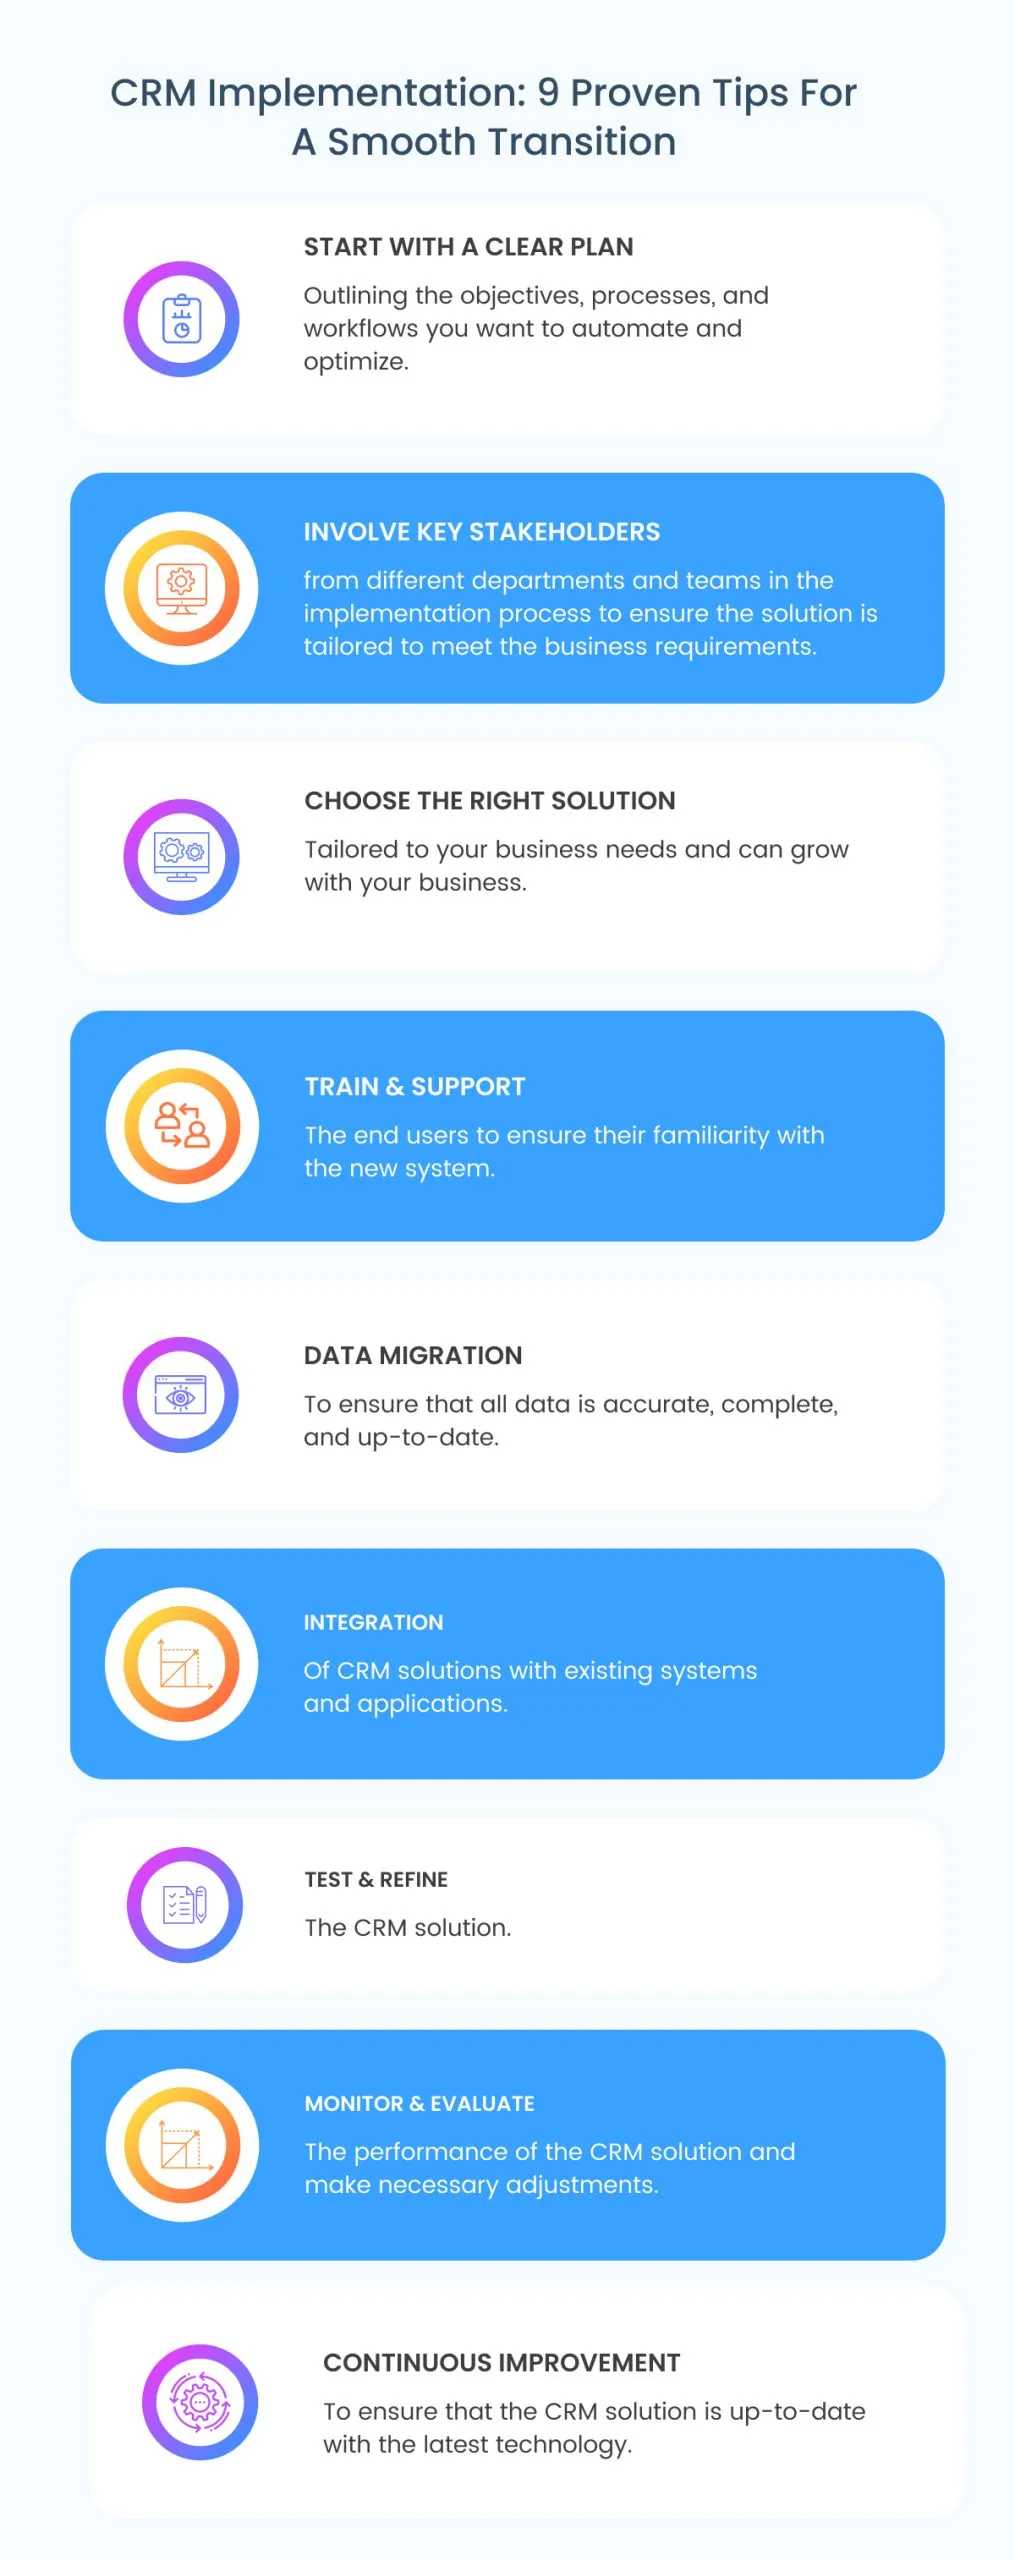
CRM Implementation: 9 Proven Tips For A Smooth Transition
Implementing a CRM solution can be complex and challenging, but you can ensure its success with the right approach.
Here are some tips for implementing a CRM solution and ensuring its success:
- Start With A Clear Plan: Develop a detailed plan outlining the processes, objectives and workflows you want to automate and optimize.
- Involve Key Stakeholders: Involve key stakeholders from different departments and teams in the implementation process. It will ensure that the solution is tailored to meet the specific requirements of your business.
- Choose The Right Solution: Choose a relevant CRM solution tailored to your business needs and can grow with your business.
- Training & Support: Provide training and support to your users. Ensure that they are familiar with the new system and how to use it effectively.
- Data Migration: Plan and execute data migration, and ensure that the data is accurate, complete, and up-to-date.
- Integration: Integrate the CRM solution with other systems and applications that you are currently using, such as ERP, marketing automation, and e-commerce platforms.
- Test & Refine: Test the CRM solution, and refine it as needed to ensure that it meets your business needs.
- Monitor & Evaluate: Monitor and evaluate the performance of the CRM solution and make adjustments as needed to ensure that it continues to meet your business needs.
- Continuous Improvement: Continuously improve the CRM solution to ensure it is up-to-date with the latest technology. Make sure it continues to meet your business needs.
Conclusion
In today’s competitive market, business leaders must be mindful of leveraging technology to stay ahead. CRM software is an essential tool for many organizations, as it provides the opportunity to improve customer service and decision-making abilities.
By utilizing the data available within CRM software, companies can make more informed decisions and better serve their customers.
Industry leaders must recognize that a successful CRM implementation requires more than just purchasing software. They should research different CRM solutions and select the one that best meets their needs.
Cutting-edge CRM solutions to improve your bottom line
VII. How ValueCoders Can Help In Boosting Industry Decision-Making With Its CRM Software Development Services?
ValueCoders is a leading provider of CRM software development services that can help businesses boost their decision-making capabilities.
Our team of experienced developers can work with companies to create custom CRM solutions tailored to their specific needs and goals.

For 13+ years, we have been aiding businesses by:
- Providing comprehensive CRM software development services, including design, development, testing, deployment, and maintenance.
- Using the latest technologies and best practices to create highly-efficient and scalable CRM solutions that are easy to use and navigate.
- Offering a wide range of CRM development services that include custom development, integration, application migration, and customization of existing solutions.
- Providing 24/7 support and maintenance services ensures that the CRM solutions are always up-to-date and running smoothly.
- Helping businesses to improve their customer service, sales, and marketing by providing a centralized platform for team members to share customer information and collaborate on customer interactions.
So, if you want to develop a top-notch CRM solution for your business, reach out to us and hire custom CRM developers to get your work done.

