According to Statista’s latest survey, around 39.5% of respondents reported using React.js for web development projects. It has emerged as a powerhouse, simplifying the creation of dynamic and efficient user interfaces.
However, setting up a React app could be a long process. Using the right approach, you can get started with a React app in just five minutes, as you aren’t required to configure dependencies, frameworks, or build tools manually.
Here, you will find a hassle-free setup process that will help you create your first React app without any complexity. By the end, you will learn how to have a fully functional React app that will be ready to scale and customize easily.
Let’s dive in!
An Overview of React Technology
React is a JavaScript library designed explicitly for constructing user interfaces. More than a mere HTML templating engine, React, also known as ReactJS, is a versatile framework designed for building user interfaces.
Unlike conventional frameworks like Angular or EmberJS, React’s flexibility shines through, offering a declarative approach to UI development.
React enables developers to express how an application should look using JSX, a syntax extension that combines HTML-like tags within JavaScript. This declarative style, coupled with the efficiency of a “virtual DOM” distinguishes React.
React optimizes updates by creating a virtual representation of the DOM, ensuring a faster rendering process.
When you hire React developers, they are empowered to build modular and flexible UIs without the intricacies of direct DOM manipulation. As we set up a React app, these fundamental principles will guide our journey into the dynamic world of React development
We handle the React setup so you can focus on coding and building app.
Key Features/Top Benefits of React
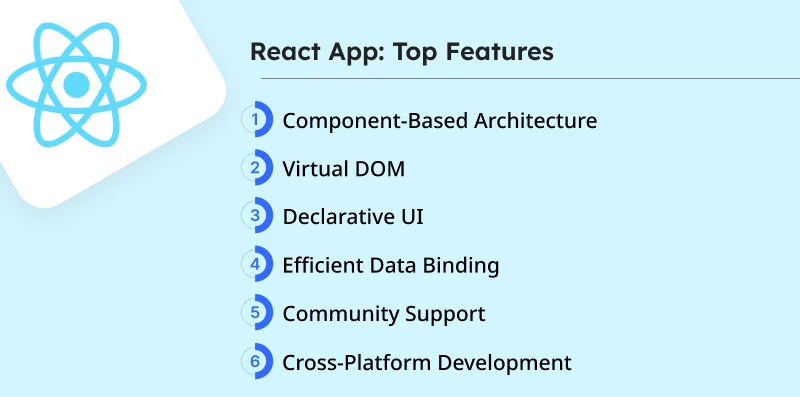
Before we dive into setting up your React app, let’s highlight why developers use React most:
1. Component-Based Architecture
Modular and reusable building blocks simplify development.
2. Virtual DOM
Optimizes performance by selectively updating only changed elements.
3. Declarative UI
Express the UI appearance without delving into complex DOM manipulation.
4. Efficient Data Binding
Unidirectional data binding ensures seamless updates for enhanced responsiveness.
5. Community Support
Robust community offers a wealth of resources and tools for collaborative development.
6. Cross-Platform Development
Extend React to mobile apps with cross-platform React Native app development company.
These features make React a top choice for developers, combining efficiency, simplicity, and community support for building dynamic user interfaces. Now, let’s get started with setting up your React app!
Prerequisites of Creating a React App in Under 5 Mins
Before you start, make sure you have the right tools. A React app requires Node.js, NPM, yarn, and a code editor like VS Code. With these ready, you can set up your project in minutes without any roadblocks.
Also read: Top ReactJS Development Companies To Build Robust Web Apps
1. Necessary Tools and Software
Before diving into React development, ensuring you have the essential tools in place is crucial. Follow these steps to set up your environment.
Install Node.js and npm
Node.js and npm are fundamental for managing and installing packages. Install them by visiting the official Node.js website and following the installation instructions.
Install a Code Editor (e.g., Visual Studio Code)
A good code editor is essential for a smooth development experience. We recommend Visual Studio Code for its simplicity and powerful features. Download and install it from the official website.
Get free consultation and let us know your project idea to turn it into an amazing digital product.
2. Setting Up Your Development Environment
Installing Node.js and npm
- Download and Install Node.js and npm
- Visit the official Node.js website (https://nodejs.org/) and download the latest version.
- Follow the installation instructions to set up Node.js and npm on your machine.
Verify Installation
Open your terminal or command prompt and run the following commands to verify Node.js and npm installations:
3. Choosing a Code Editor (e.g., Visual Studio Code)
Download and Install Visual Studio Code
- Head to the official Visual Studio Code website (https://code.visualstudio.com/).
- Download and install the latest version of Visual Studio Code.
Set Up Visual Studio Code for React Development
- Open Visual Studio Code and install the necessary extensions for React development.
- Extensions like “ESLint” and “Prettier” can enhance your coding experience.
Configure ESLint and Prettier
- Create an ESLint configuration file (.eslintrc) and a Prettier configuration file (.prettierrc) in your project’s root folder.
- Customize these files based on your preferences or project requirements.
4. Installing Create React App
Install Create React App Globally
In your terminal or command prompt, run the following command to install Create React App globally:
Create a New React App
Generate a new React application using Create React App with the following commands:
Verify Installation
Ensure your React app is set up correctly by running it:
Open your browser and navigate to http://localhost:3000 to see your React app in action.
By following these additional steps, you’ve set up Node.js, npm, and Visual Studio Code and initiated a new React app using Create React App. In the next sections, we’ll delve deeper into the practical aspects of configuring libraries, working on metadata, handling images, setting up APIs, importing components, and running/publishing your React app.
Minimize downtime and start building a React app in just five minutes with our expert-backed development process.
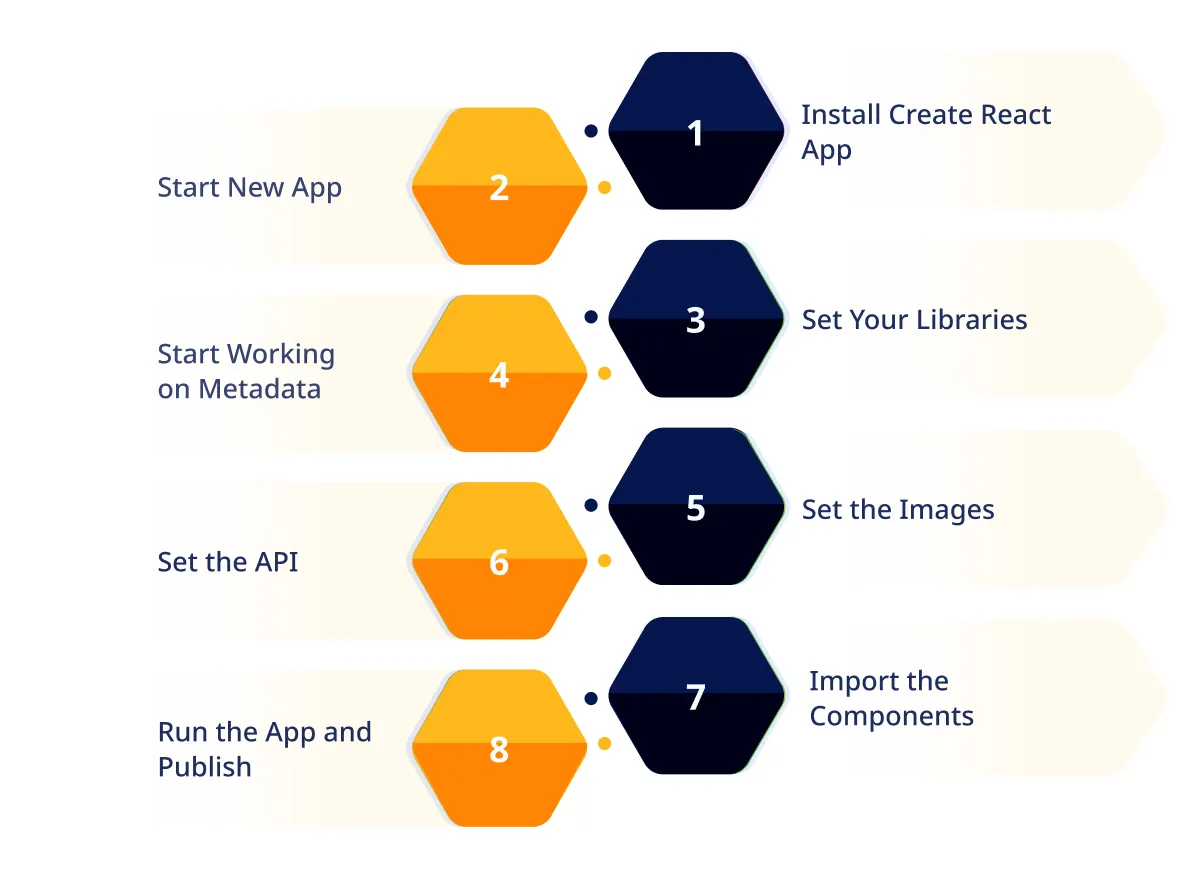
5. Configuring Libraries and Working on Metadata
Set Up Your Libraries
Begin by defining the libraries your React app will utilize. Create a new folder named node_modules in your project to store client-side JavaScript libraries.
Install popular libraries like React, Redux, or Vue.js using npm or yarn:
Start Working on Metadata
- Metadata serves as the information backbone of your application, describing its functionality and structure.
- Create a file named Index.js in the project’s root folder to initialize the application skeleton.
- Add metadata such as routes, components, and other relevant information to kickstart your React app.
6. Handling Images
Prepare and Import Images:
Use an image editor like Photoshop or Gimp to create and refine your images.
Organize your images in a dedicated folder under the project directory.
Create subfolders such as assets/fonts/icons and import image files, e.g., icon-arrow-right.png.webp.
7. Setting Up APIs
Define API Requirements:
- Before integrating external services, thoroughly understand the requirements of the APIs you plan to use.
- Choose APIs that align with your application needs and adhere to a standard format.
Also read: Top ReactJS Development Companies To Build Robust Web Apps
8. Importing Components
Import Components into React Native App:
Utilize the react-native-cli package to facilitate the import of components into your React Native app.
Hire React Native developers to access the Nuxt.js CLI to execute the import component command, specifying the configuration file path.
9. Running the App and Publishing
Build and Run Your Application:
- Open a terminal window and navigate to your project’s root folder using the cd [directory] command.
- Run the app on an iOS or Android device:
Publish Your App:
After successfully running the app, execute the react-native link in the terminal to create a symlink to the native module in your project folder.
This ensures your application starts without rerunning it each time source files are modified.
Also read: Glean Insight Into ReactJS Development Cost In USA, Europe, And India
Adding Styling to Your React App
After setting up your React app, the next step is to enhance its visual appeal through styling. This can be achieved by partnering with a React development services company or using various styling approaches such as CSS, SCSS, or styling libraries like styled-components.
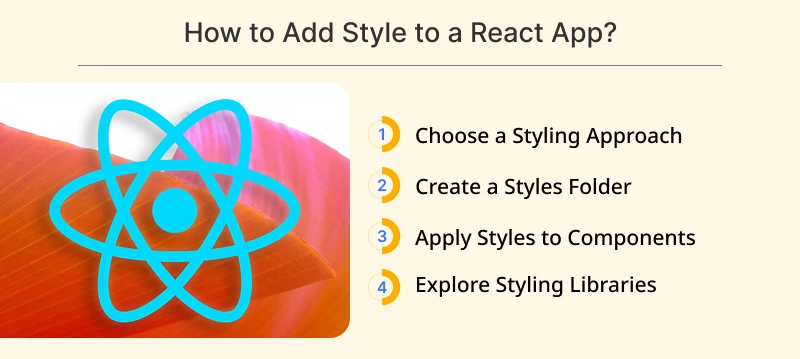
Choose a Styling Approach:
- Decide on the styling approach that best suits your project. Options include traditional CSS, pre-processors like SCSS (Sass), or modern solutions like styled components.
- Each approach has advantages, so choose based on your project’s requirements and personal preference.
Create a Styles Folder:
Organize your styles by creating a dedicated ‘styles’ folder within your project. This helps maintain a clean and structured project organization.
Apply Styles to Components:
- Open your React components, the building blocks of your application’s UI, and start adding styles.
- Styles can be applied using inline styles directly within the component or by importing external stylesheets.
- Consistency in naming conventions is crucial for maintaining clarity and making your codebase easy to understand.
Explore Styling Libraries:
- Consider using established styling libraries like Bootstrap, Material-UI, or Tailwind CSS.
- These libraries provide ready-made components and follow a consistent design system, which can significantly speed up the styling
- process and maintain a cohesive look throughout your application.
Adding styling to a React app involves choosing a styling approach, organizing styles in a dedicated folder, applying styles to components, and exploring styling libraries for efficiency and consistency.
This guide aims to help developers make informed decisions about styling their React applications, encouraging a visually appealing and well-structured user interface.
Also read: Step-by-Step Guide to Creating a React App in 5 Minutes
Implementing State Management with React Hooks
React provides hooks, such as `useState` and `useEffect`, which are crucial in managing state and handling side effects in a React application. This guide will walk you through the steps to implement basic state management using these hooks.
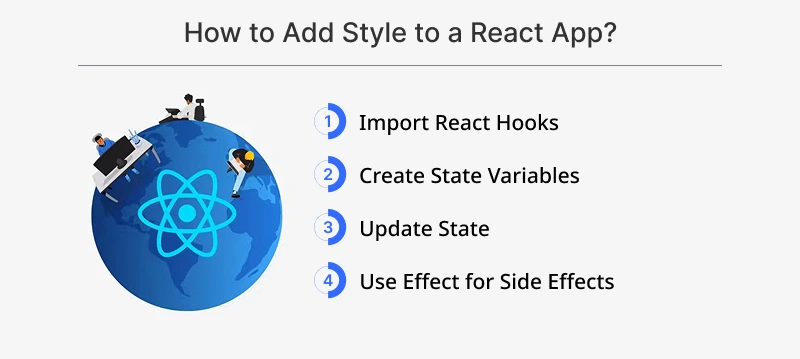
Import React Hooks:
Begin by importing the necessary hooks at the beginning of your component files. This is typically done at the top of your JavaScript or JSX file.
Create State Variables:
Utilize the `useState` hook to create state variables within your components. This enables your application to respond to user interactions dynamically.
Update State:
Implement functions within your components to update the state based on user actions. For example, you might create functions that handle button clicks or form submissions, triggering changes in the application state.
Use Effect for Side Effects:
If your application involves tasks like data fetching or other side effects, leverage the `useEffect` hook to manage these operations. This ensures that side effects are handled appropriately during the component lifecycle.
Implementing state management with React Hooks is essential for building dynamic and responsive React applications. The `useState` and `useEffect` hooks simplify the process of managing state and handling side effects, contributing to a more efficient and organized codebase.
Incorporating Routing with React Router
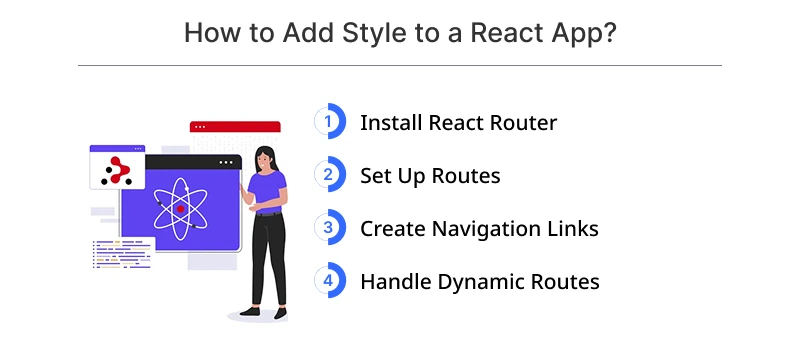
For multi-page applications, implementing routing is crucial to provide a seamless navigation experience for users. React Router, a popular library, simplifies handling routes and navigation in React applications.
Install React Router:
Use npm or yarn, package managers for JavaScript, to install React Router. The following command can be run in your terminal:
Set Up Routes:
- Define routes for different pages or components within your React app. Typically, this is done in the main App.js file.
- Organize your routes to map to specific components or views in your application.
Create Navigation Links:
Build navigation links using the Link component from React Router. This component enables users to navigate seamlessly between different views or pages within your app.
Handle Dynamic Routes:
- If your application requires dynamic routing based on parameters (e.g., user IDs), learn how to handle dynamic routes with React Router.
- Adjust your routes to accommodate dynamic data and ensure a flexible navigation structure.
Incorporating routing with React Router is essential for building multi-page React applications. Following these steps, you can seamlessly set up routes, create navigation links, and handle dynamic routing, providing users with a smooth and intuitive experience as they navigate your app.
Also read: Ultimate Guide To Optimize Your React Native App Performance
Testing Your React App
Ensuring the reliability of your React application is crucial for delivering a seamless user experience. Testing allows you to identify and fix potential issues, ensuring your app functions as intended.
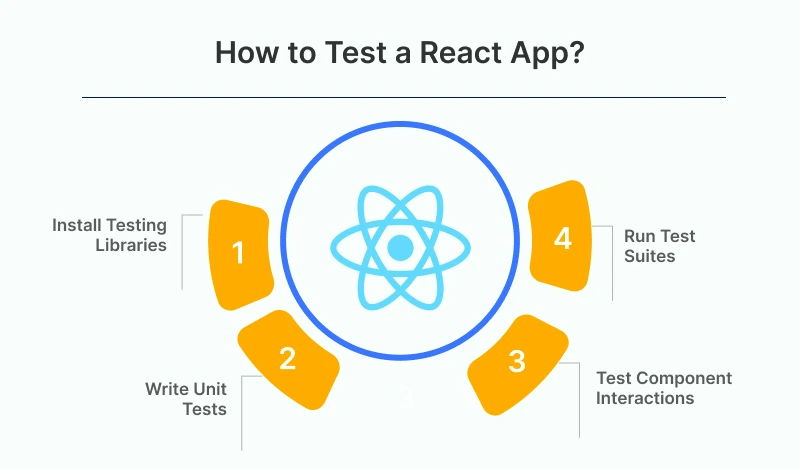
Install Testing Libraries:
Utilize testing libraries such as Jest and React Testing Library. These libraries are popular choices for testing React applications.
Install them using the following command in your terminal:
Write Unit Tests:
Create unit tests for individual components. Unit tests focus on ensuring that each component functions correctly in isolation.
Test rendering, state changes, and other specific behaviors of each component.
Test Component Interactions:
Write tests to simulate user interactions. This ensures that when users interact with your components, the components respond as expected.
Cover scenarios like button clicks, form submissions, and other user-triggered events.
Run Test Suites:
Set up scripts in your package.json file to run your test suites easily. This facilitates regular checks on the health of your application.
Establish a continuous integration (CI) pipeline to automate testing processes.
Testing your React application is a crucial step in the development process. By using testing libraries, writing unit tests, and testing component interactions, you can enhance the reliability of your app. Regularly running test suites ensures your application remains robust and free of unexpected issues.
Also read: The 20 Best React Native App Development Companies
Conclusion
While the initial setup is swift, it is crucial to appreciate the depth and intricacies beneath the surface. The above step-by-step guide enables you to swiftly set up and build a fundamental React app in just five minutes.
You may also hire React developers who will experiment with components, explore advanced features, and harness React’s true strength to craft immersive and efficient user interfaces.
To further enhance your React experience and bring your projects to new heights, you must outsource React services from ValueCoders. When you hire dedicated software development teams from us, our experts are ready to collaborate, providing tailored solutions aligning with your vision and goals.

